If you have reports that are large, or you wish to load without interrupting your workflow, you can choose to have them run in the background automatically
In this guide:
Navigating to report to start the schedule process:
Navigation:
1. Navigate to the Report Portal (Reporting -> Portal)
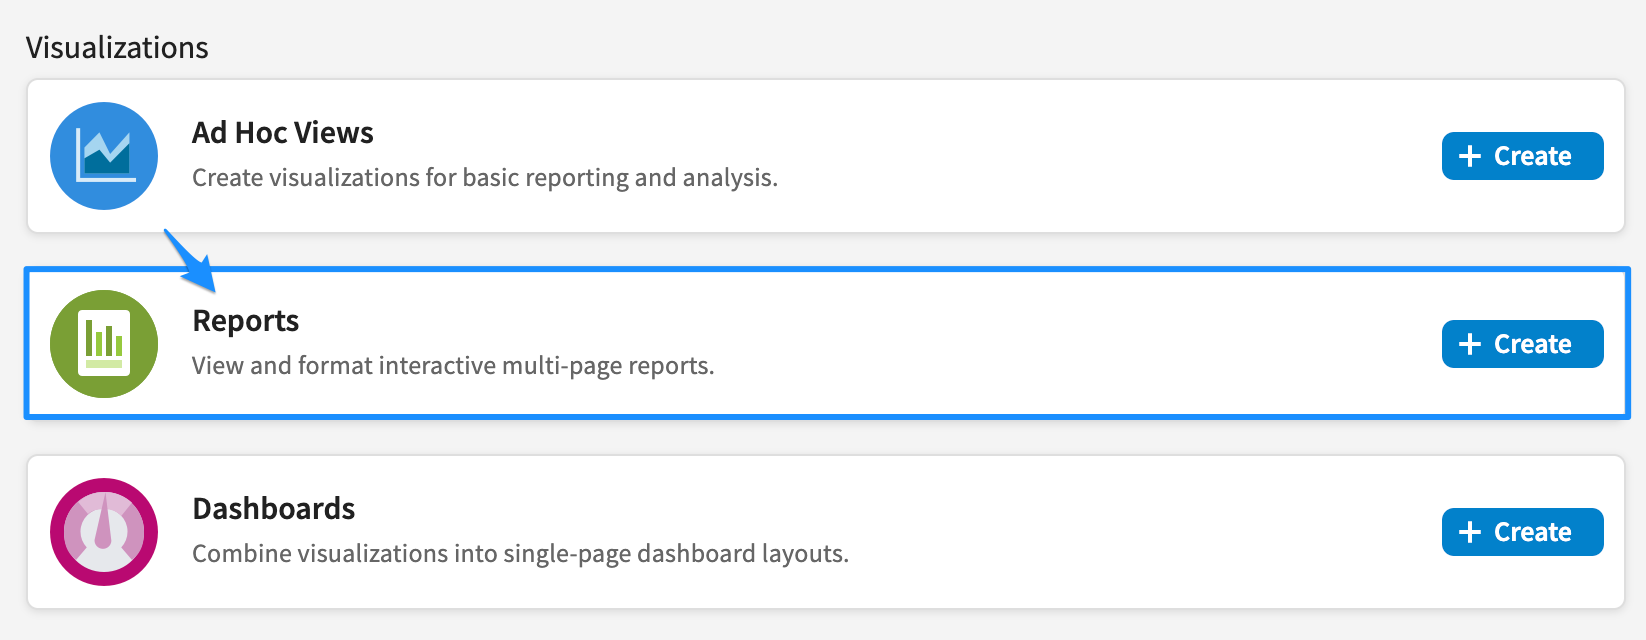
2. From the main menu, click Reports under the Reports section

3. Scroll or keyword search to locate report you wish to schedule
4. Right click on report for options

5. Select Schedule from the option list
6. Click Create Schedule from main menu

Once 'Create Schedule' has been clicked on, the 'New Schedule' screen appears with the Schedule tab selected next to the Parameters, Output Options & Notifications tabs
Schedule Tab:
Schedule Start:
The Schedule Start date defines the start of the schedule
7. Specify the schedule start date by either selecting 'Immediately' or 'On Specific Date'.
NOTE: If 'On Specific Date' is selected, a date must be defined.
the calendar icon next to the field provides a calendar interface to select a date.

Recurrence
This section offers the option to create a periodic schedule for execution of the selected report
8. Define the Recurrence type:
None - Schedule does not execute the report more than once
Simple - Schedule can execute the report every minute, hour, day or week
Advanced - Schedule can execute the report on various days throughout the year at a particular time.
Schedule End
If a recurrence has been selected, a Schedule end date field will be available to be defined.
9. Specify the Schedule End Date (if necessary)
Once the Schedule Start Date and Schedule End Date has been defined, the schedule will execute the report based on the recurrence within the date range outlined in the Schedule Start Date and Schedule End Date
Parameters Tab:
The parameters tab allows the input controls for the scheduled report to be outlined.
10. Select relevant options the input controls fields.
More information on Input Controls can be found in the following guide:
Filtering Report content using Input Controls
Output Options:
This tab allows the option to specify the scheduled report's name, format, file handling and destination.
Overwrite Files - ticking this box will ensure that the report that is about to be executed next will replace the current report which had been executed previously as part of the schedule
Sequential file stamp - ticking this box allows users to understand the date and time of the execution of the scheduled report that was delivered to the user's folder by adding a timestamp to the file name
Notifications:
16. Specify the email addresses you would like to send the report to.
17. Specify the subject of the email which contains the report
18. Provide a description in the message field as a description of the report
19. Select how the report is going to be included in the email

Send Job status notification
20. Specify the email addresses you would like to send the notifications to about the execution of the report.
21. Specify the subject of the notification email
22. Define whether to messages for successful and/or unsuccessful (failure) executions of the report schedule

